 expert
We may be compensated if you purchase through links on our website. Our team is committed to delivering honest, objective, and independent reviews on home products and services.
More
Wrought iron railings add elegance and security to any home, but over time, they can fall victim to rust and corrosion. Fortunately, repairing a rusted wrought iron railing is a manageable DIY project that can restore both the safety and appearance of your home’s exterior. In the video above, This Old House general contractor Tom Silva demonstrates how to rebuild a corroded, unsafe railing for your home.
Understanding Wrought Iron Rust
Wrought iron railings are prone to rust, especially when exposed to moisture and harsh weather conditions. Rust not only compromises the appearance of the railing but can also weaken its structural integrity, posing safety risks.
Causes of Rust on Wrought Iron
Several factors contribute to the rusting of wrought iron railings:
- Exposure to rain and snow
- High humidity levels
- Improper drainage around the railing base
- Lack of protective coating or paint
- Salt air in coastal areas
Preparing for Repair
Before beginning your repair project, you’ll first need to ensure you have the right tools on hand and that you’re taking proper safety precautions.
Tools and Materials Needed
To repair a rusted wrought iron railing, you’ll need:
- Bonding adhesive
- Caulk gun
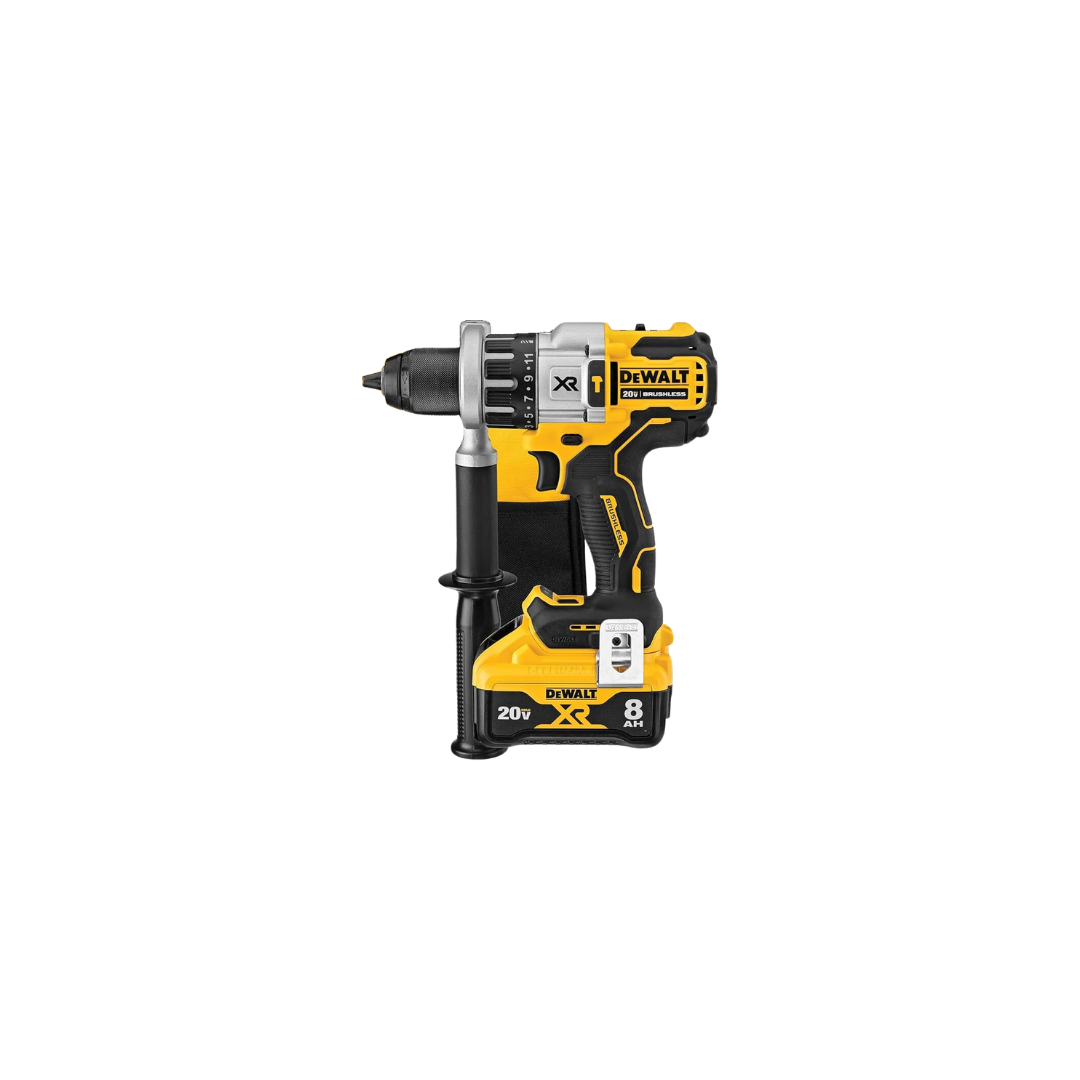
- Drill/driver with 3/16-inch bit
- Duct tape
- Hammer drill with 3/8-inch masonry bit
- Hydraulic cement
- Pliers
- Pointed trowel
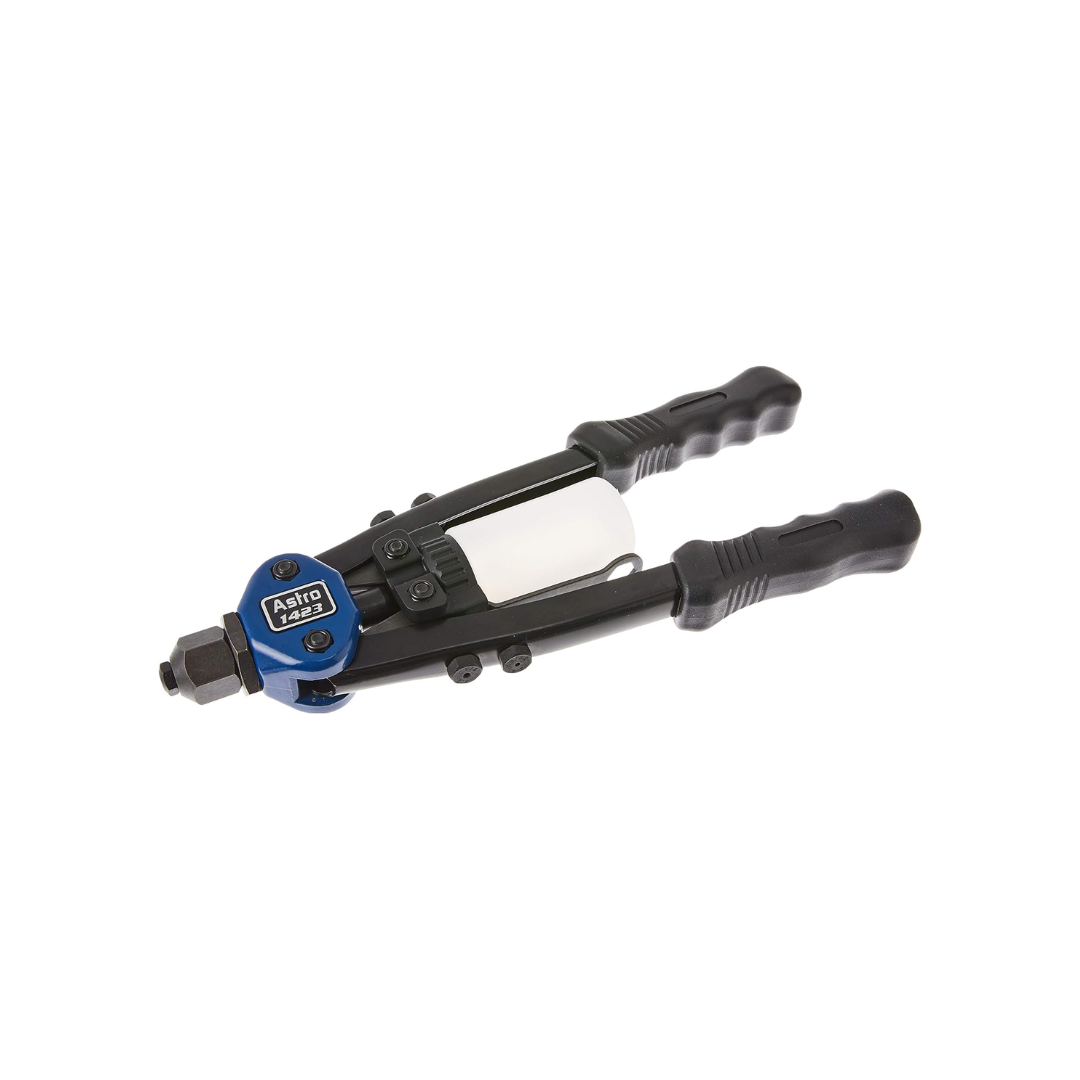
- Pop rivet gun
- Pop rivets (3/16-inch diameter x 3/8-inch long)
- Protective gear (gloves, safety glasses, dust mask)
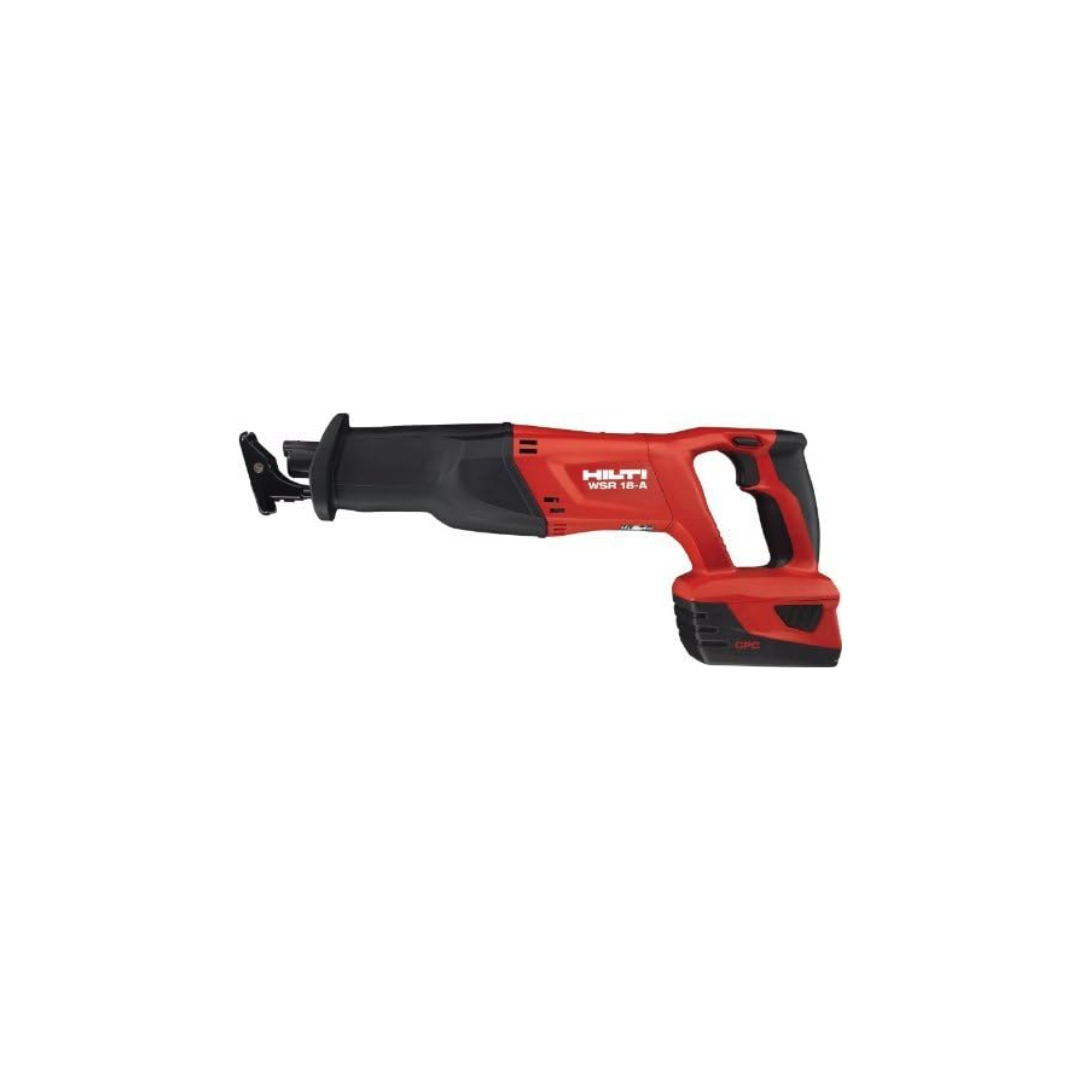
- Reciprocating saw with metal-cutting blade
- Spray primer
- Wire brush
- Wet/dry vacuum
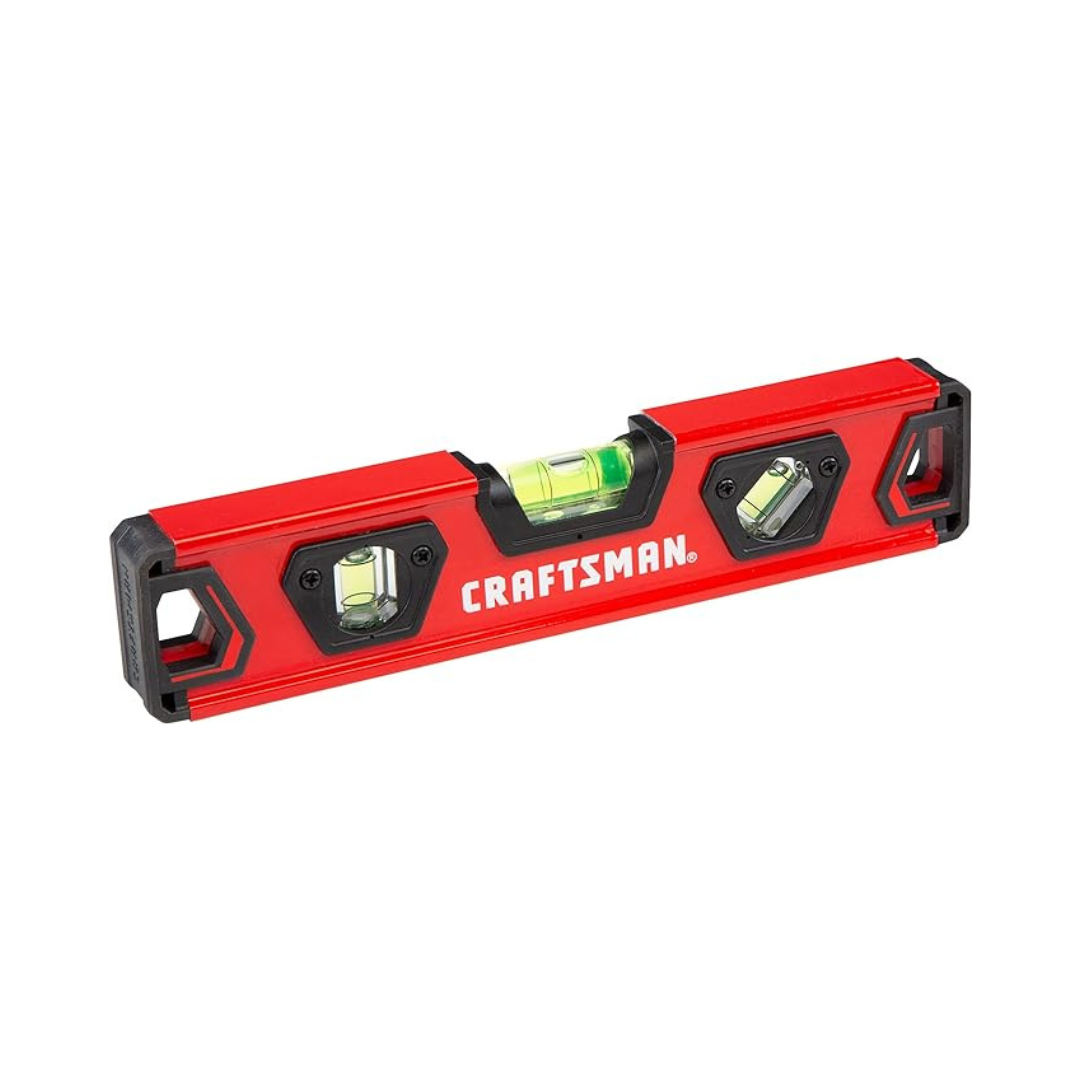
- 2-foot level
Safety Precautions
When working with rusted metal and power tools, safety should be your top priority. Follow these steps to ensure a safe working area:
- Keep your work area clear of tripping hazards
- Use a dust mask when drilling or cutting metal
- Maintain proper ventilation when using spray primers or adhesives
- Wear protective eyewear and gloves
Steps for Repairing a Rusted Railing
Step 1: Remove the Damaged Sections
The first step in repairing a rusted wrought iron railing is to remove the damaged portions. This process may vary depending on the extent of the rust damage.
Cut Away Severely Rusted Parts
For severely rusted sections, they can often be broken away by hand due to their weakened state. For more solid sections, use a reciprocating saw with a metal-cutting blade to cut the railing flush at the base.
Drill Out the Remaining Pieces
After removing the main sections, you’ll likely find remnants of the railing still embedded in the concrete. To remove these:
- Use a hammer drill with a 3/8-inch masonry bit. Use a depth stop to avoid drilling too deep.
- Drill closely spaced holes around the perimeter of the embedded pieces.
- Extract the loosened metal using pliers.
Step 2: Prepare the Railing for Repair
With the damaged sections removed, it’s time to prepare the remaining railing for the repair process.
Clean and Prime
- Use a wire brush to remove any loose rust or paint from the remaining railing sections.
- Apply a spray primer to any exposed metal to prevent further rusting. Proper priming is essential to create a barrier against moisture and ensure a longer-lasting repair.
Have Replacement Parts Fabricated
For severely damaged railing posts, replacement parts may be necessary. Custom-made leg extensions can be fabricated at a metal shop. These extensions consist of a solid steel dowel inserted into a square stock that matches the size of your existing railing posts. Ensuring the perfect fit will give you both structural integrity and a seamless repair.
Cut Off Railing Legs
Before you install the fabricated pieces, you’ll need to cut the remainder of the railing legs. Cut the railing legs flush with the railing using a reciprocating saw with a metal-cutting blade. Apply spray primer to the bare metal at the ends of the railing legs.
Step 3: Install the Replacement Parts
With the railing prepared and replacement parts in hand, you can begin the installation process.
Attach the Leg Extensions
To attach leg extensions:
- Apply bonding adhesive inside the hollow railing legs.
- Insert the leg extensions into the railing posts.
- Secure each extension with a 3/16-inch diameter x 3/8-inch long pop rivet.
Position the Repaired Railing
Once the leg extensions are attached, you’ll need to position the repaired railing:
- Place the railing back into the holes in the concrete staircase.
- Use a level to ensure the railing is perfectly plumb.
- Temporarily secure the railing to the house with duct tape to hold it in position.
Step 4: Secure the Railing
The final step in repairing your wrought iron railing is to permanently secure it in place.
Mix and Apply Hydraulic Cement
- Clean the holes in the concrete staircase with a wet/dry vacuum.
- Mix hydraulic cement (also called expanding cement) according to the manufacturer’s instructions. You’ll want to work quickly, because the cement will set soon after being mixed.
- Use a pointed trowel to apply the cement around the railing legs, forcing it deep into the holes to make sure there are no bubbles.
- Clean away excess cement with a damp cloth, ensuring a slight mound around the post to shed water.
Cure and Finish
Allow the hydraulic cement to cure for at least two days before removing the temporary tape and using the railing. This curing time ensures the cement sets properly, providing a strong and lasting hold for your repaired railing.
To maintain the railing’s appearance and prevent future rusting, consider applying a fresh coat of rust-resistant paint. Inspect regularly for early signs of rust and address them promptly to prolong the life of your wrought iron railing.
In the video below, painter Mauro Henrique explains how to repaint a rusty handrail.
Tools:
 Reciprocating saw
- Hammer drill
- Masonry bit – 3/8-inch
- Drill/driver
- drill bit – 3/16-inch
- Pop rivet gun
- Wet/dry vacuum
- level – 2-foot
- Caulk gun
- Pointed trowel
- Pliers


Source: https://www.thisoldhouse.com/curb-appeal/21017267/how-to-repair-a-rusted-wrought-iron-railing
You may also like

