 expert
In the past, when a concrete patio or driveway started to show serious signs of aging, using a jackhammer or bringing in a bulldozer were the only repair options. Today, there are more practical alternatives. Resurfacing won’t fix major cracks or sinking, but it can help extend the lifespan of structurally sound concrete. We’ll walk you through the process of applying a concrete resurfacer to give new life to your pitted and worn concrete.
Project details
Skill
3 out of 5ModerateThe bag is heavy and trowelling takes practice
Cost
Estimated Time
How To Fix Pitted Concrete
“Spalling—the pits that form in concrete—happen when too much water is used in a concrete mix, weakening it,” says This Old House’s Tom Silva. As long as your walkway isn’t cracked all the way through, you can fix this issue. Coat the slab with a concrete resurfacer, a no-shrink blend of Portland cement, sand, and polymer additives that fills divots and makes a uniform finish. Its natural color is dark gray, so buy enough to cover your entire walk. One 40-pound bag coats about 35 square feet. If you want a different color, you can add a concrete tint.
What Temperature Should It Be When You Pour Concrete?
Before resurfacing, clean your concrete surface by striping off any paint or sealers—and watch the weather. The surface temperature of the existing concrete must be at least 50°F for 8 hours after the resurfacing and above freezing for 24 hours after that. For optimum results, work on a day with low humidity, no rain, and an air temperature ranging between 70°F and 75°F.
How Long Does Concrete Resurfacing Take?
Resurfacing takes most of the day, but your walkway will be back in pristine shape once you’re done. Often, the resurfaced concrete is set enough to walk on after six hours and ready for driving or parking after 24–48 hours.
How To Resurface Worn Concrete
The resurfacing process involves cleaning, patching, and spreading the resurfacer. Luckily, you won’t need to create all new concrete. Don’t skimp on the preparation, since cleaning allows the resurfacer to adhere properly to the existing concrete, and patching will help extend the lifespan of the resurfacer.
Step 1: Clean the Concrete
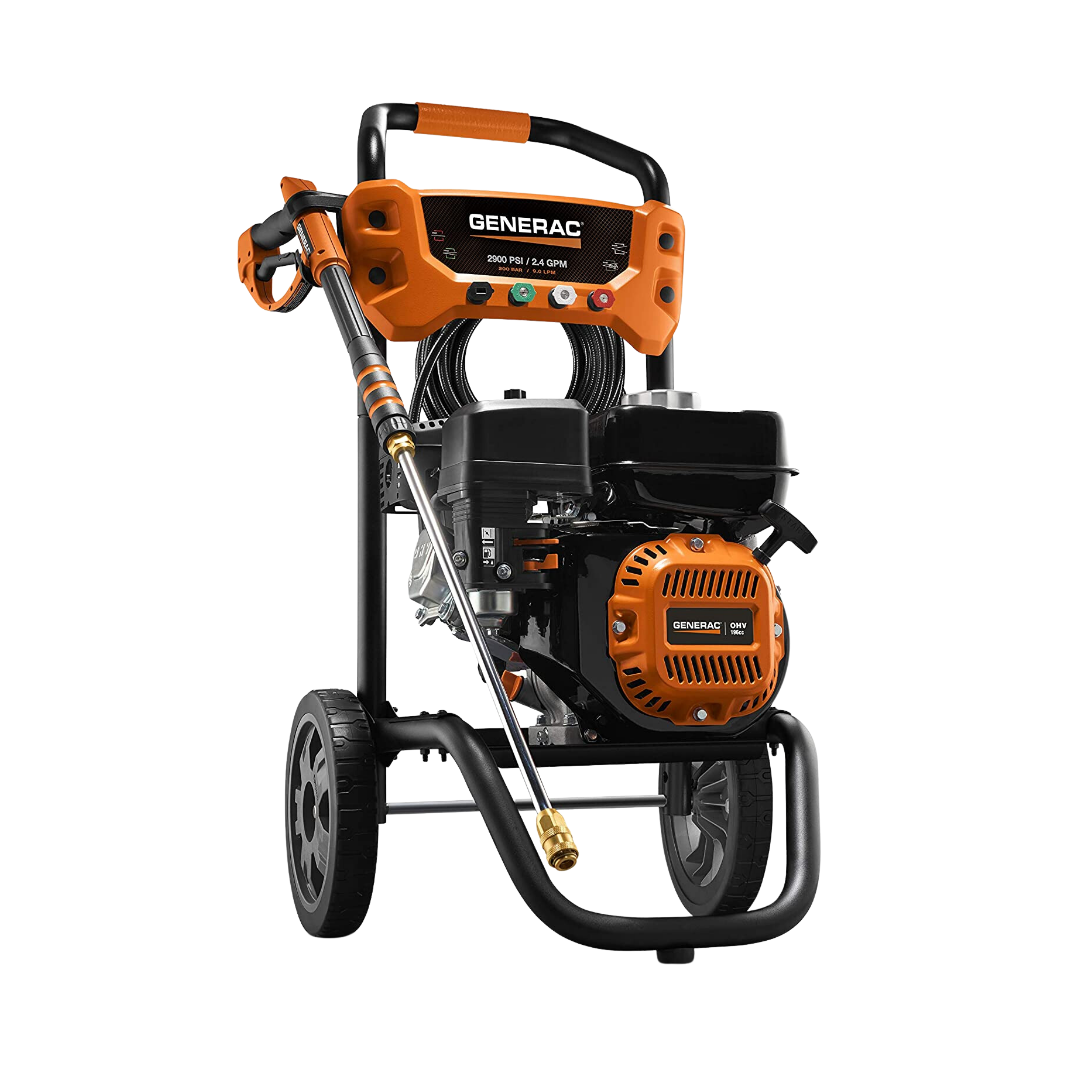
- For surface preparation, wear heavy boots and protective glasses and blast off surface dirt with a gas-powered pressure washer that can reach at least 3,500 pounds per square inch (psi).
- Fit the wand with a 25-degree fan tip, and hold it 6—8 inches from the surface as you clean the concrete with slow, even sweeps.
- To remove mildew or algae, use a concrete wash.
Step 2: Patch Spalled Areas

- While the concrete is damp, mix up enough resurfacer to fill any divots. Combine one part water with seven parts resurfacer in a 5-gallon bucket and blend with a paddle mixer attached to a corded drill.
- Fill the recesses with resurfacer and smooth with a finish trowel.
- Go to the next step when you can stand on the patch without indenting it, which will take about two to five hours.
Step 3: Spread the Resurfacer
- Fill the walkway joints with peel-and-stick foam weatherstripping, and dampen the concrete if necessary.
- The resurfacer is workable for about 20 minutes, so mix just half a bag of powder with 5 1/2 cups of water at a time. That’s enough to cover two sidewalk slabs, or about 17 square feet.
- Pour the resurfacer on the walk. Remember that concrete resurfacer sets quickly, so mix small amounts at a time and work in sections.
Step 4: Trowel Out the Resurfacer

- Spread the resurfacer until it’s between 1/8- and 1/4-inch thick.
- For a slip-resistant finish, wait five minutes, then sweep a nylon-bristle concrete broom across it, 90 degrees to the foot traffic.
- Remove the weatherstripping after 20 minutes. Wait six hours before walking on it. Cover only if rain threatens in the meantime.
Tools Needed For Concrete Resurfacing
 Power pressure washer
- 5-gallon bucket
- Finishing trowel
- Nylon-bristle broom


Our Conclusion
When pits develop in concrete surfaces over time, those imperfections can both detract from the overall appearance and potentially pose hazards. Resurfacing concrete to fix these issues may seem like a challenge, but most DIYers can tackle the project within a day. If you’re faced with pitted concrete, use this guide to resurface your concrete and restore its original looks and functionality. If applied properly, the resurfacer could last up to 10 years.
Source: https://www.thisoldhouse.com/sidewalks/21016787/how-to-resurface-concrete
You may also like

