 expert
Mortar in a brick wall can deteriorate over time, due to weather exposure, settling, or simply its age. When this happens, water gets into the brick and can cause structural issues. Fortunately, damaged mortar can be repaired through a process called repointing.
Whether you’re a DIY enthusiast or hiring a professional, understanding the basics of mortar repair will help you maintain your home’s masonry for years. This guide will help you identify mortar problems, choose the right materials, and complete the repair.
Understanding Mortar
Mortar is the glue that holds a brick wall together, providing structural stability and preventing water from getting in to wreak havoc. It’s a mixture of cement, lime, sand, and water that hardens over time to create a durable bond between bricks. Mortar also allows for slight movement in the wall, accommodating thermal expansion and contraction.
When mortar begins to fail, it can lead to a host of problems, including water damage, brick displacement, and even wall collapse in severe cases. In the video below, Kevin O’Connor discusses the difference between cement, concrete, and mortar.
Signs Your Brick Wall Needs Mortar Repair
Identifying mortar problems early can prevent more extensive damage to your brick wall. Regular visual inspections, especially after severe weather, can help you catch these issues. If you notice any of these signs, it’s time to consider repointing your brick wall to prevent further damage.
- Cracking or crumbling mortar: Visible cracks or areas where the mortar is turning to powder are clear signs of deterioration.
- Receding mortar joints: If the mortar has eroded to a depth greater than 1/4 inch from the face of the brick, it’s time for repair.
- Loose or missing bricks: When mortar fails, bricks can become unstable or fall out entirely.
- White powdery substance (efflorescence): This indicates that water is moving through the mortar, dissolving salts, and depositing them on the surface as it evaporates.
- Damp spots or water stains: These can appear on interior walls adjacent to brick exteriors, signaling that moisture is penetrating through failing mortar.
Tools And Materials Needed For Brick Mortar Repair
Gathering the right tools and materials is essential for a successful outcome before beginning your mortar repair project. Here’s what you’ll need.
 Carbide-tipped grout saw
- Cold chisel
- Engineer’s hammer
- 5-In-1 Painter’s Tool
- Stiff bristle brush
- Pointing trowel
- Drill/driver
- Abrasive wheel attachments
- Garden hose with nozzle
- Brick trowel
- Tarp
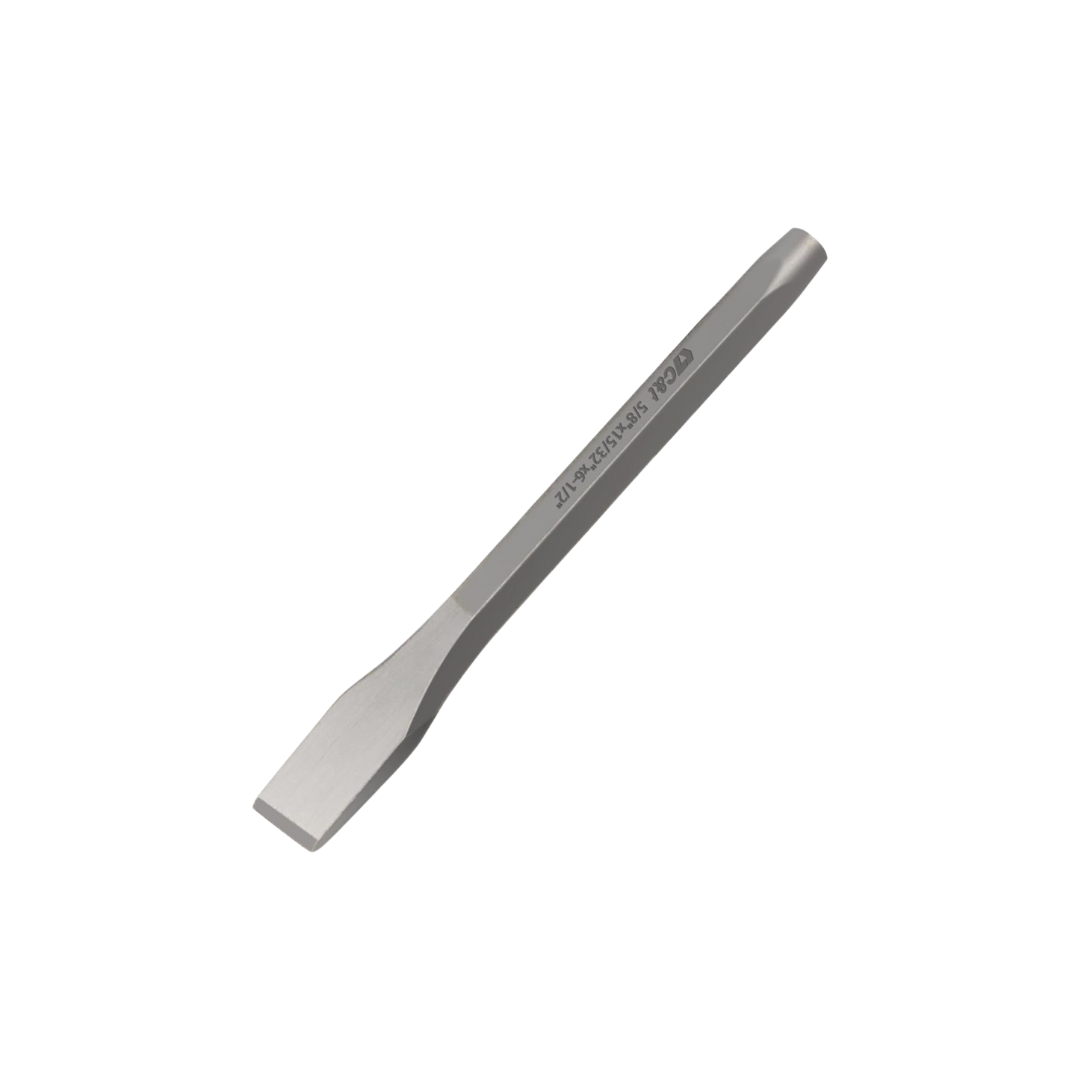


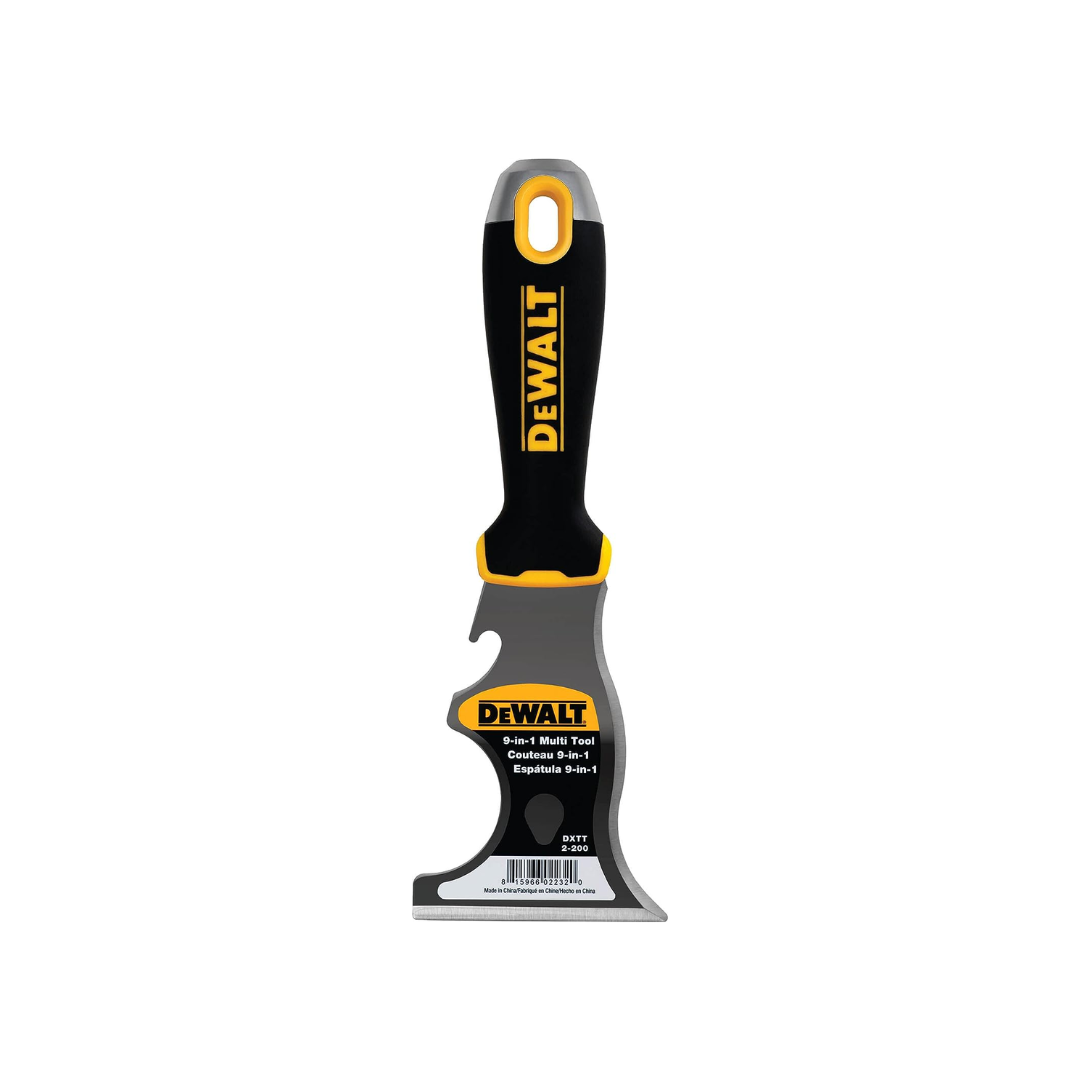

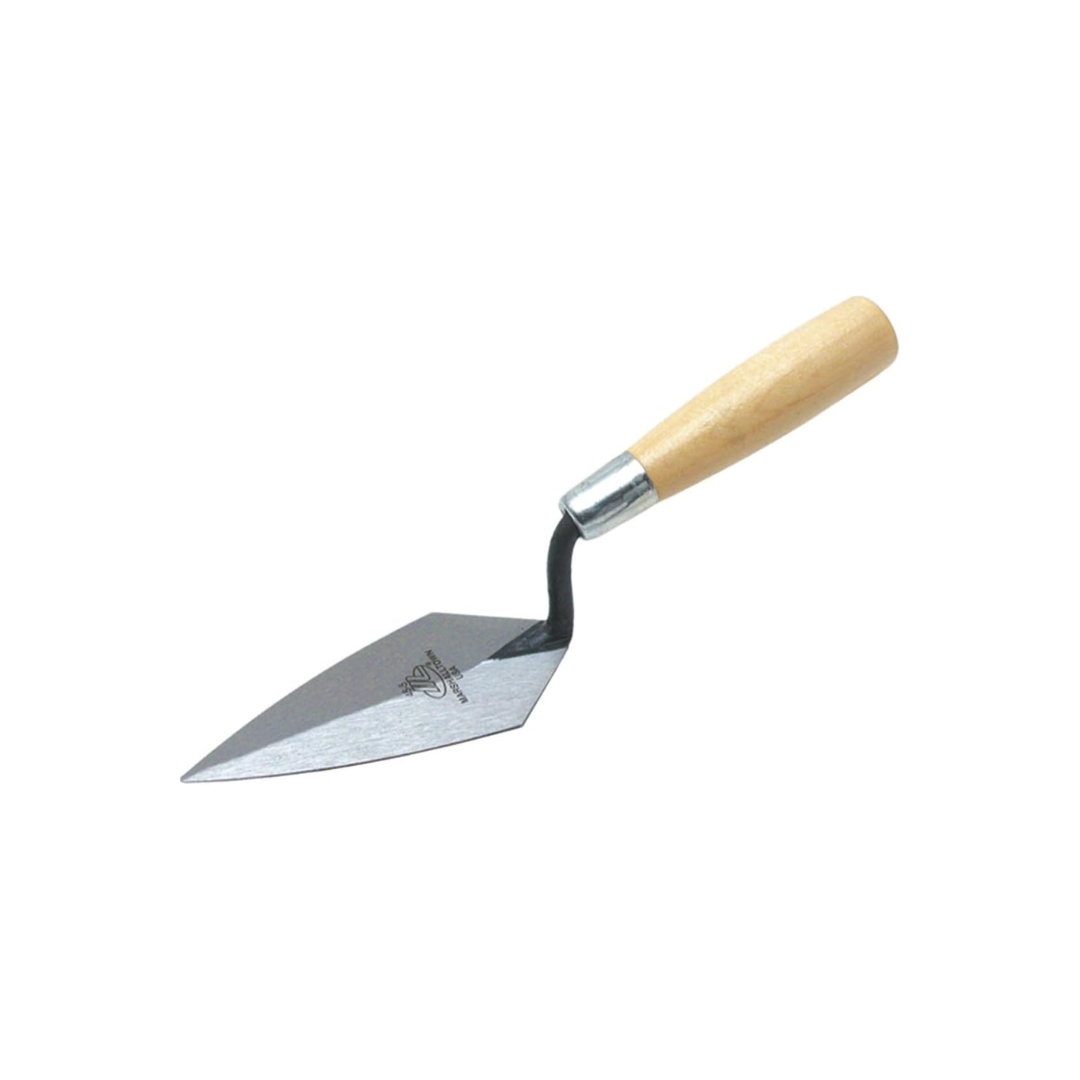


Essential Hand Tools
To ensure precision and avoid damaging the bricks during the repair process, you’ll require some specific hand tools. The photographed items above are clickable for easy shopping on Amazon, or you can go off of the list below.
- Tuck-pointing trowel: For applying new mortar into the joints
- Brick jointer: To shape and smooth the new mortar
- Grout saw or cold chisel: For removing old mortar
- Wire brush: To clean out debris from the joints
- Masonry brush: For final cleaning and smoothing of mortar

Mortar Mixing Supplies
Proper mixing is key to achieving a mortar that’s workable and will set correctly. You’ll need:
- Mortar mix: Choose based on your brick type and age (more on this later)
- Mixing bucket: For preparing small batches of mortar
- Mixing paddle: Attaches to a drill for thorough mixing
- Water: To achieve the right mortar consistency
Safety Equipment
Safety should always be a priority when working with masonry materials. To protect yourself during the project, always wear the following equipment:
- Safety glasses: To protect your eyes from dust and debris
- Dust mask: To avoid inhaling mortar dust
- Work gloves: To protect your hands while working with mortar and tools
Choosing The Right Mortar For Your Project
Selecting the appropriate mortar is crucial for the longevity and effectiveness of your repair. The choice depends largely on the age of your brick structure and the type of mortar originally used.
When choosing your mortar, consider the wall’s age, the type of bricks used, and local climate conditions. If you’re unsure, consulting with a masonry professional can help you make the best choice. You’ll likely choose between traditional lime, modern Portland cement-based, and custom blended mortar.
Traditional Lime Mortar
For buildings constructed before World War II, traditional lime mortar is often the best choice. This type of mortar is softer and more flexible than modern alternatives, allowing it to accommodate the natural movement of older bricks. Lime mortar also allows moisture to escape more easily, which is essential for the preservation of historic structures.
Modern Portland Cement-Based Mortar
If your brick wall is less than 50 years old, Portland cement-based mortar may be ideal. This type of mortar is harder and more durable than lime mortar, making it appropriate for newer construction. However, using it on older buildings can lead to damage over time because of its rigidity.
Custom Blended Mortar
For the best results, especially in historic restoration projects, a custom-blend mortar that matches the original composition is ideal. Specialized companies can analyze samples of your existing mortar and create a custom blend that matches its color and characteristics. This ensures compatibility with the existing brickwork and preserves the wall’s integrity.
Preparing The Wall For Mortar Repairs
Proper preparation is key to ensuring a successful mortar repair job. This process involves several crucial steps that set the foundation for a durable and effective repair.
Remove Old Mortar

Begin by carefully removing the deteriorated mortar from the joints. Use a grout saw or cold chisel to rake out the horizontal bed joints to a depth of at least ¾ inch. For joints wider than ½ inch, the depth should be 2½ times the joint’s width. When working on vertical head joints, be cautious not to damage the surrounding bricks. A 5-in-1 painter’s tool can be useful for this task.
Clean the Joints

After removing the old mortar, clean out all debris from the joints. Use a stiff-bristled brush to whisk away any loose particles. This step ensures that the new mortar will adhere properly to the bricks. Check that your tuck-pointing trowel fits into the cleaned joints. If it’s too wide, you may need to grind it down slightly.
Wet the Brickwork

Before applying new mortar, the brickwork must be thoroughly dampened. Mist the wall with water until it starts to drip, but avoid saturating it. This critical step prevents the dry bricks from drawing moisture out of the new mortar too quickly, which can lead to improper curing. Allow the wall to absorb the water overnight before proceeding with the repair.
Step-By-Step Guide To Repointing Brick Mortar
Repointing brick mortar is a meticulous process that requires patience and attention to detail. Follow these steps for a professional-quality repair.
Mix the Mortar

Start by mixing your chosen mortar according to the manufacturer’s instructions. The consistency should be similar to peanut butter, able to cling to an upended trowel. After initial mixing, wait about 15 minutes for a film of water to form on the surface, then stir this water back in. This process, known as slaking, improves the mortar’s workability.
Fill the Joints

Using a brick trowel or hawk, scoop a dollop of mortar and hold it up to a bed joint. Push the mortar into the joint using your tuck-pointing trowel, ensuring it’s packed tightly to avoid creating voids. Fill horizontal bed joints first, then move on to vertical head joints. Work in small sections, typically three to four courses at a time, to maintain control over the mortar’s consistency.
Tool And Finish

Once the joints are filled, allow the mortar to set until it’s firm to the touch but still pliable. Then, use your tuck-pointing trowel to smooth and compact the mortar, creating a neat, finished appearance. Finally, brush diagonally across the joints to remove any excess mortar and create a clean surface. Be careful not to brush in line with the joints, as this can pull out fresh mortar.
After completing these steps, protect the newly repaired area from direct sunlight, wind, and rain for at least three days. Mist the wall daily during this period to ensure proper curing.
Common Mistakes To Avoid When Repairing Brick Mortar
By avoiding these common errors, you’ll increase the likelihood of a durable, long-lasting mortar repair that enhances the integrity of your brick wall.
- Using the wrong type of mortar: As mentioned earlier, using modern cement-based mortar on older brickwork can cause damage over time. Always match the mortar type to your brick’s age and composition.
- Overfilling the joints: Applying too much mortar can lead to a messy appearance and potential water infiltration. Fill joints only to the brick face, not beyond.
- Not dampening the bricks: Dry bricks will absorb moisture from the new mortar too quickly, leading to improper curing and weak bonds.
- Rushing the curing process: Mortar needs time to set properly. Avoid exposing newly repaired areas to extreme temperatures or moisture for at least 72 hours.
- Ignoring safety precautions: Always wear appropriate safety gear, including eye protection and a dust mask, when working with mortar and masonry tools.
Aftercare And Maintenance For Newly Repaired Mortar
In the days following the repair, protect the area from direct sunlight, strong winds, and rain. Use a tarp if necessary to shield the wall from these elements. To promote proper curing, continue misting the repaired area with water daily for at least three days.
After the initial curing period, regular maintenance can help prolong the life of your repair. Inspect the repaired area each year for any new signs of deterioration, and gently clean the brickwork with a soft brush and mild detergent if needed. Address any new cracks as soon as possible to make sure water doesn’t seep through. You may also want to apply a breathable masonry sealer to protect against moisture while still allowing the wall to “breathe.” With proper care, your mortar repair should last for many years, maintaining the structural integrity and appearance of your brick wall.
When To Call A Professional For Brick Mortar Repair
While many homeowners can successfully tackle small-scale mortar repairs, there are situations where professional expertise is necessary. Consider calling a masonry professional if:
- The damaged area is extensive or affects a large portion of the wall.
- You’re dealing with a historic building that requires specialized knowledge of traditional materials and techniques.
- The wall shows signs of structural issues, such as bowing or significant cracking.
- You’re unsure about matching the correct mortar type to your existing brickwork.
- The repair is in a hard-to-reach or dangerous location, such as high on an exterior wall.
Professional masons have the experience, tools, and knowledge to handle complex repairs safely and effectively. They can also provide valuable insights into the overall condition of your masonry and recommend preventive measures to avoid future issues.
Costs Associated With DIY Vs. Professional Mortar Repair
The cost of repairing brick mortar can vary significantly depending on whether you choose to do it yourself or hire a professional. Here’s a breakdown of potential costs with data from Angi:
| DIY Mortar Repair | Professional Mortar Repair |
| Mortar: $30 to cover 75 square feet Tools: $100 to $200 | Professional Mason: $20 to $40 per square foot |
While DIY repair can be more cost-effective for small areas, professional repair often proves more economical for larger projects due to a mason’s efficiency and expertise. Professionals can often complete the job more quickly and with a higher level of precision, potentially saving money in the long run by preventing future issues.
Our Conclusion
Repairing mortar in a brick wall can significantly extend the life of your masonry. If you take the time to choose the right materials and following proper techniques, you can effectively repair minor damage and maintain the integrity of your brickwork. It’s also important to consider professional help for complex or extensive repairs.
Source: https://www.thisoldhouse.com/masonry/21016676/how-to-repair-mortar-in-a-brick-wall
You may also like

